ClubRoadster.net banner

Roadster NA

46K views 233 replies 48 participants last post by  Roadster7  
#1 · (Edited)
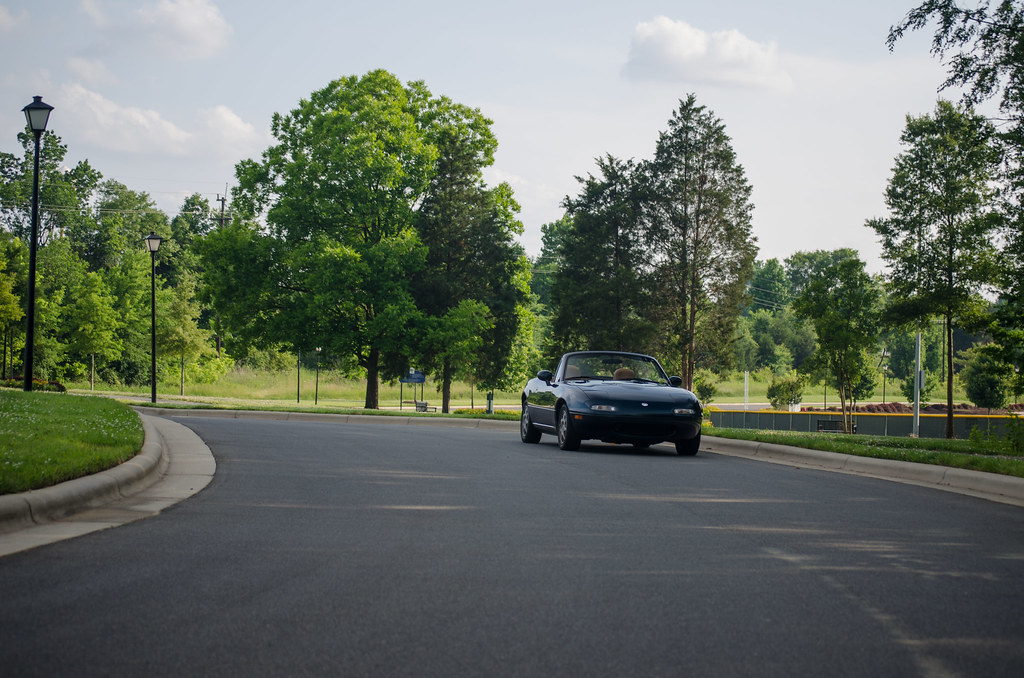
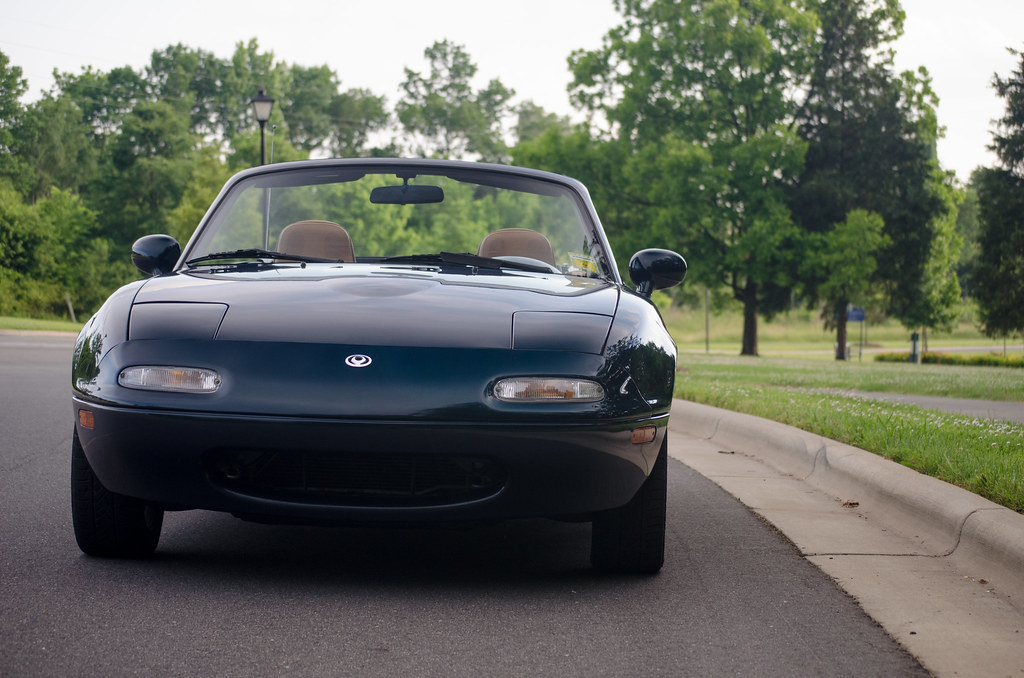
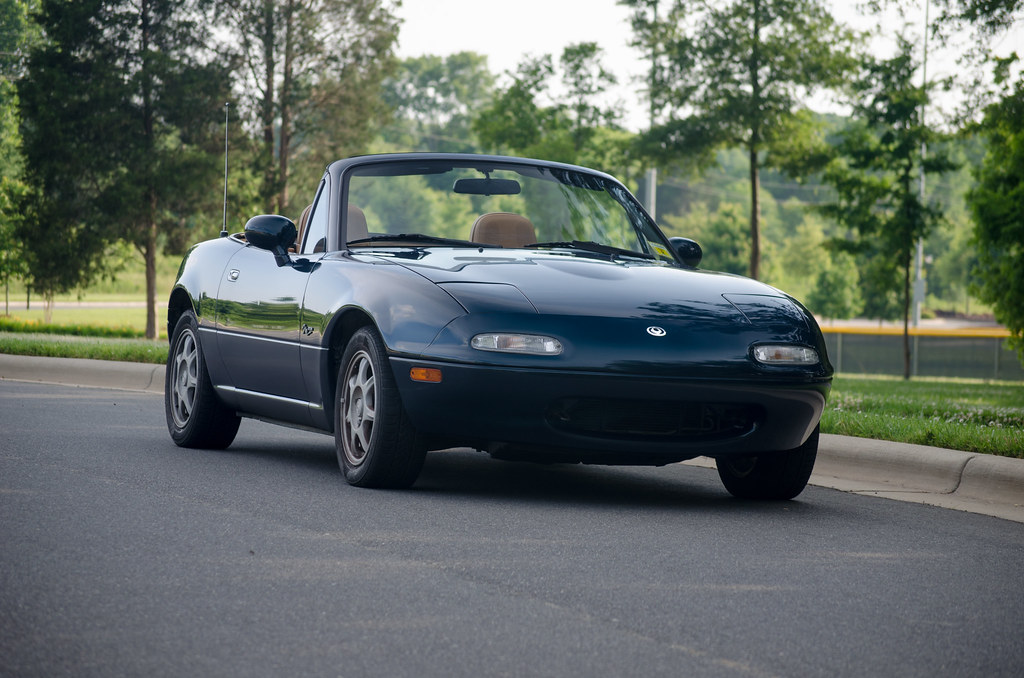
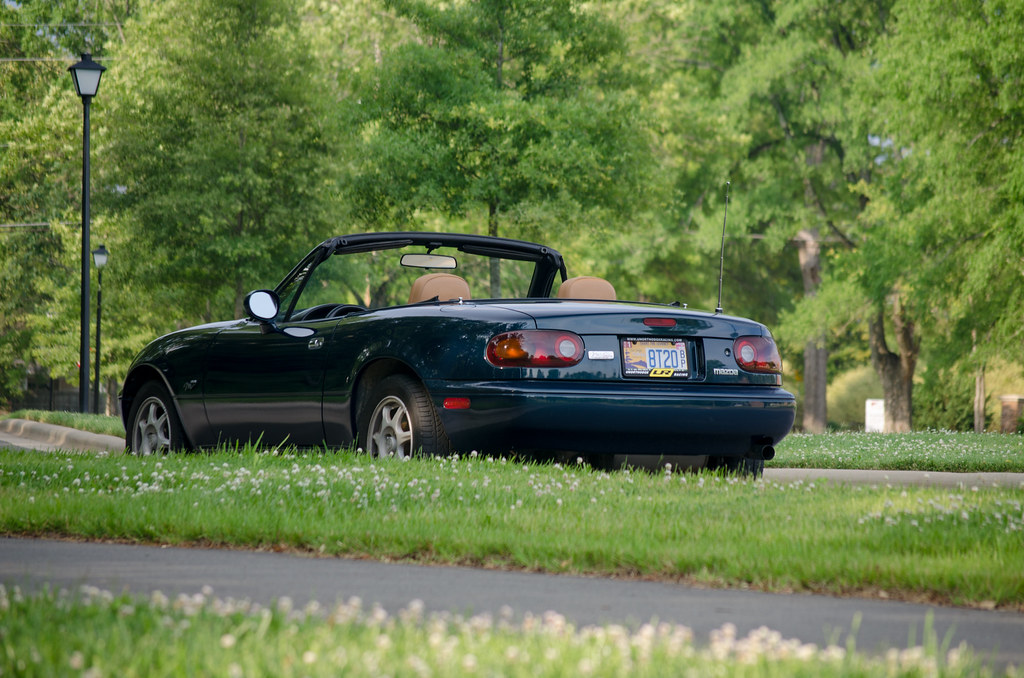
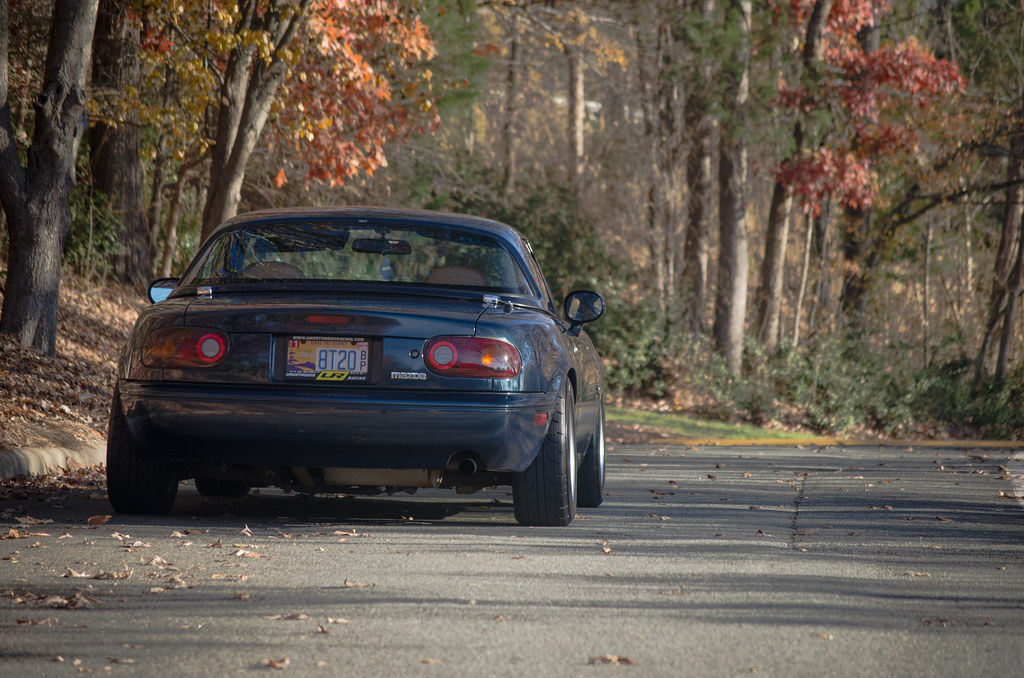
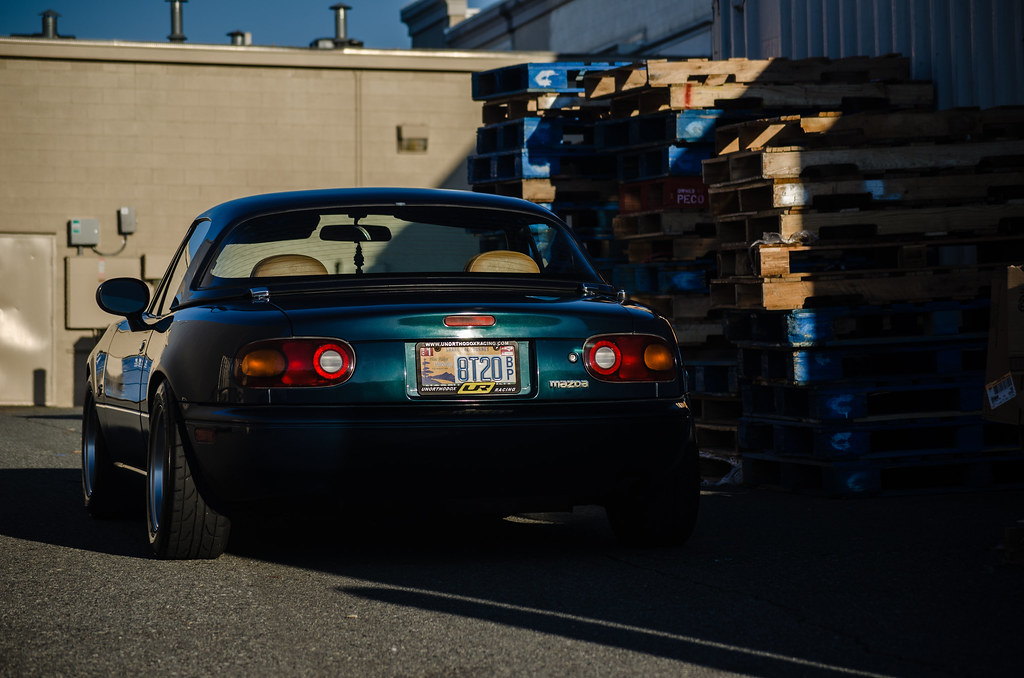
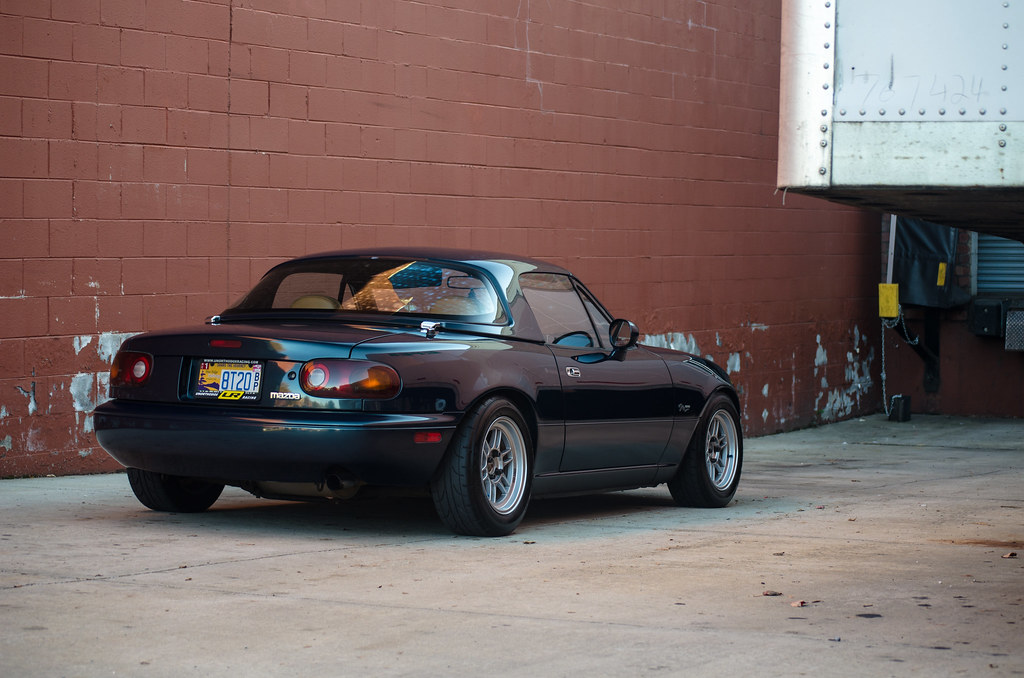
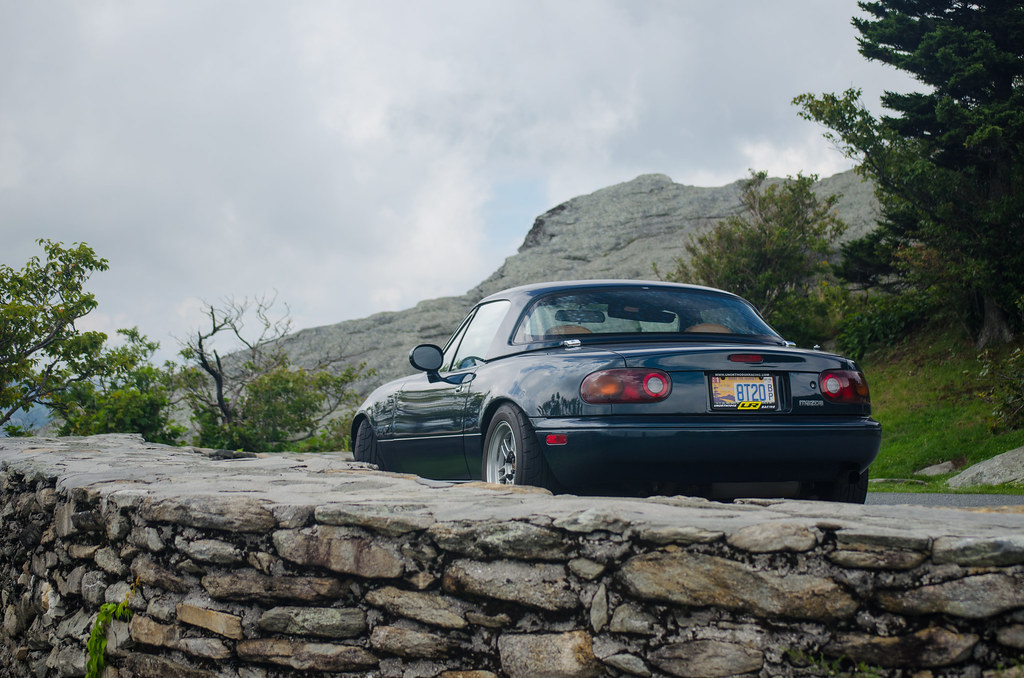
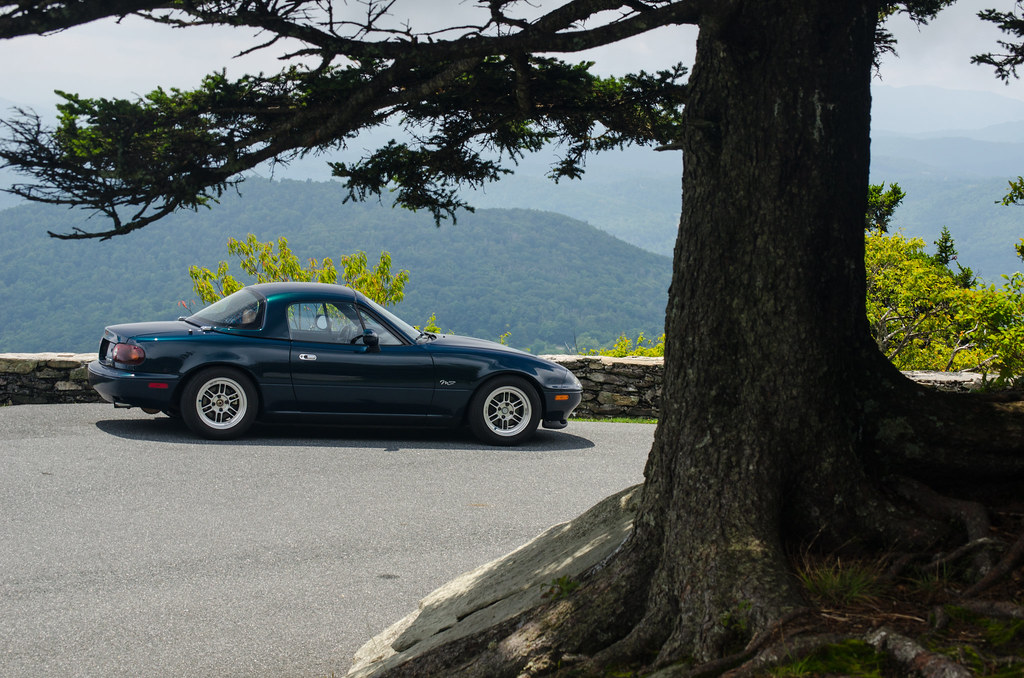
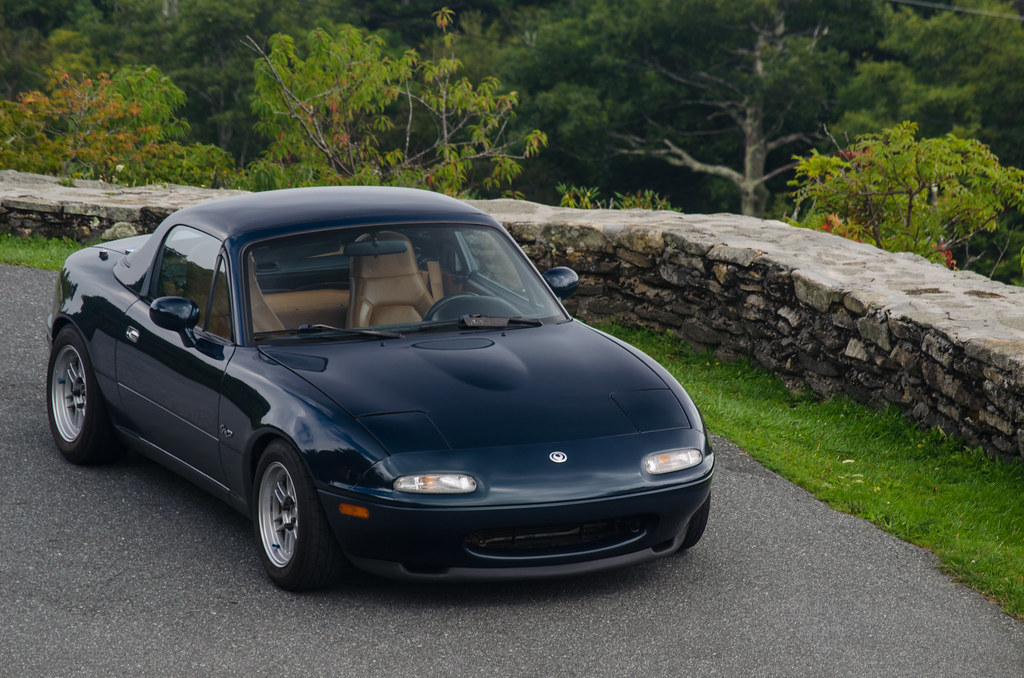
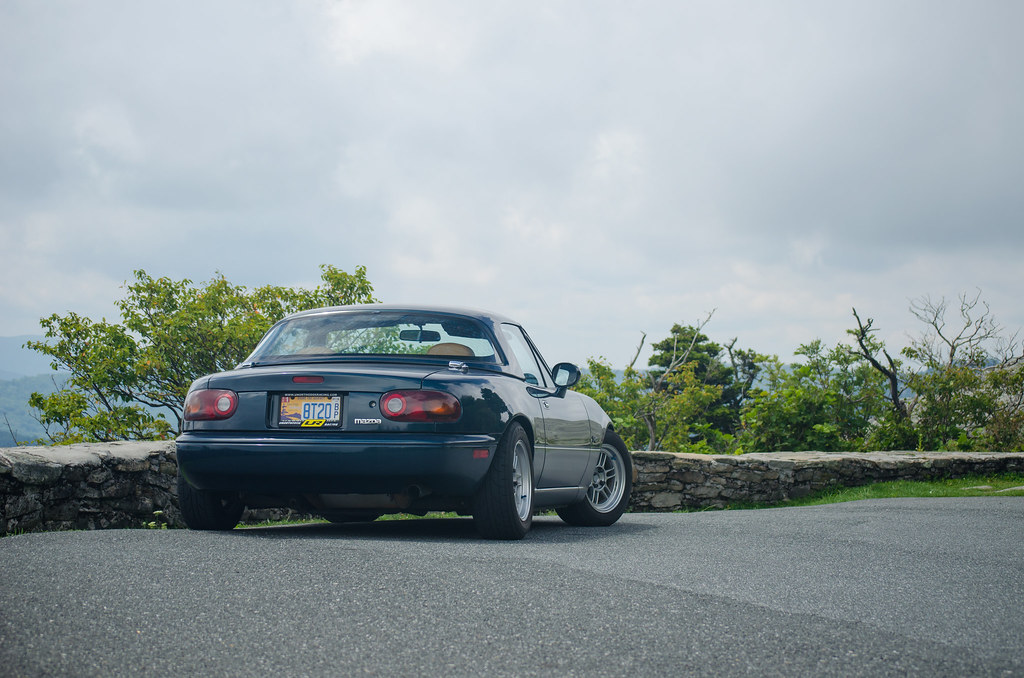
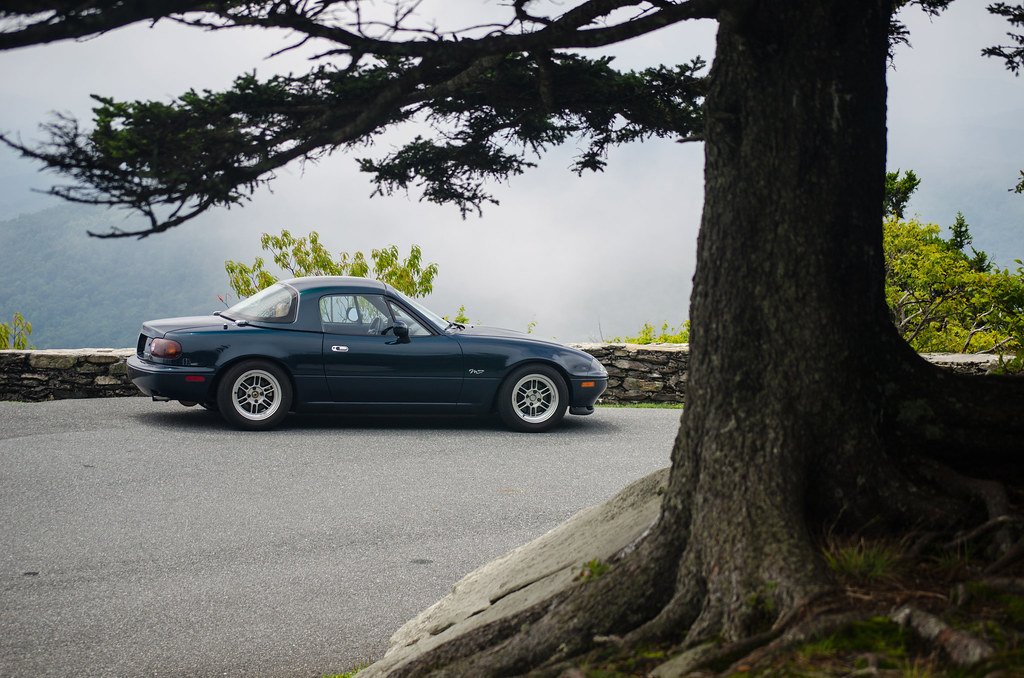
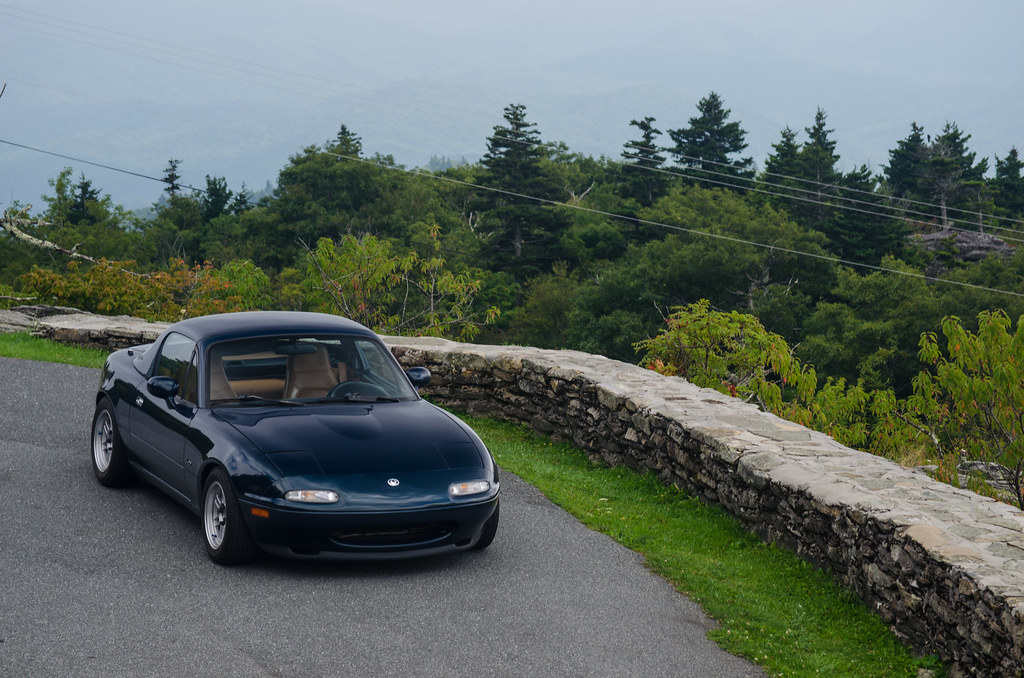
I purchased my second NA roadster in April of 2014. It is a 1994 M-Edition and had done just 58,000 miles. It had not been started in over 6 years, and sat in a garage. I named him Moby.

It leaked no oil and was completely rust free. A local Miata specialty shop, 42 Autosports did the following:

- Water pump
- Timing belt
- All gaskets
- NGK ignition wires
- NGK spark plugs
- Thermostat
- Coolant
- Motul 8100 5W40 Full Synth motor oil
- Subaru Extra-S STi Factory transmission/differential fluid
- Turret oil
- Clutch bled and fluid replaced
- Brake fluid
- Brake pads and rotors - OEM
- All other fluids
- All other belts
- All other gaskets


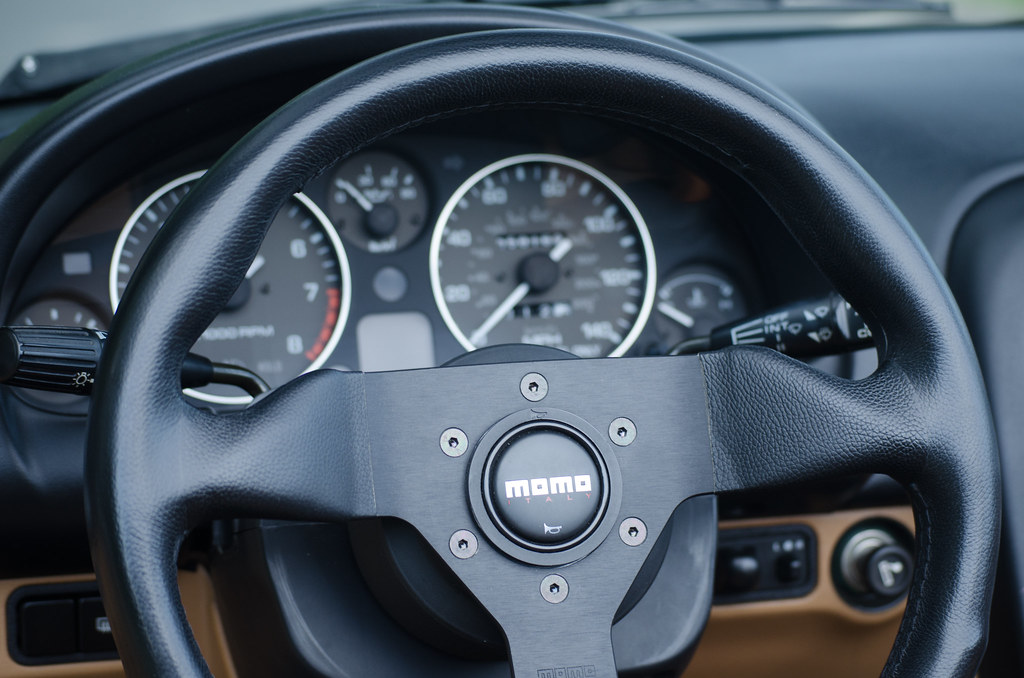
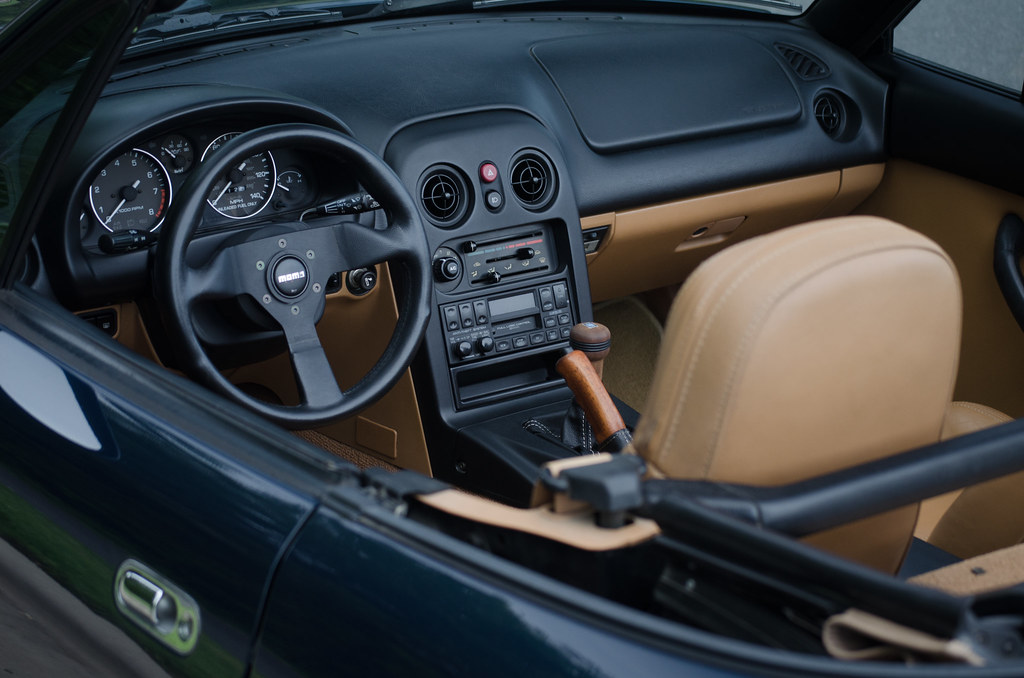
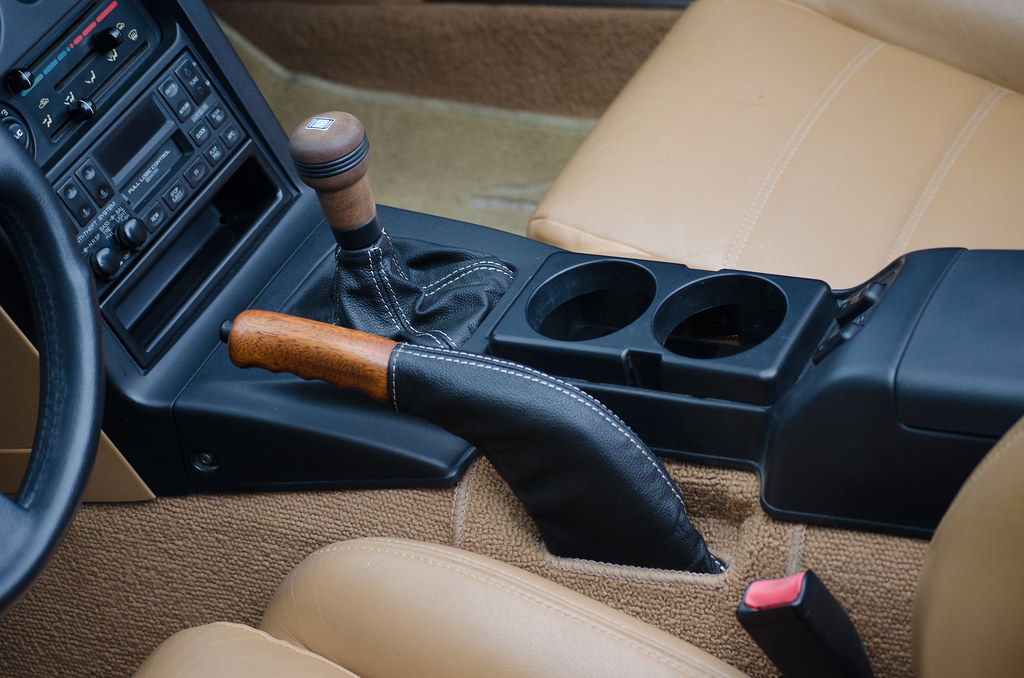
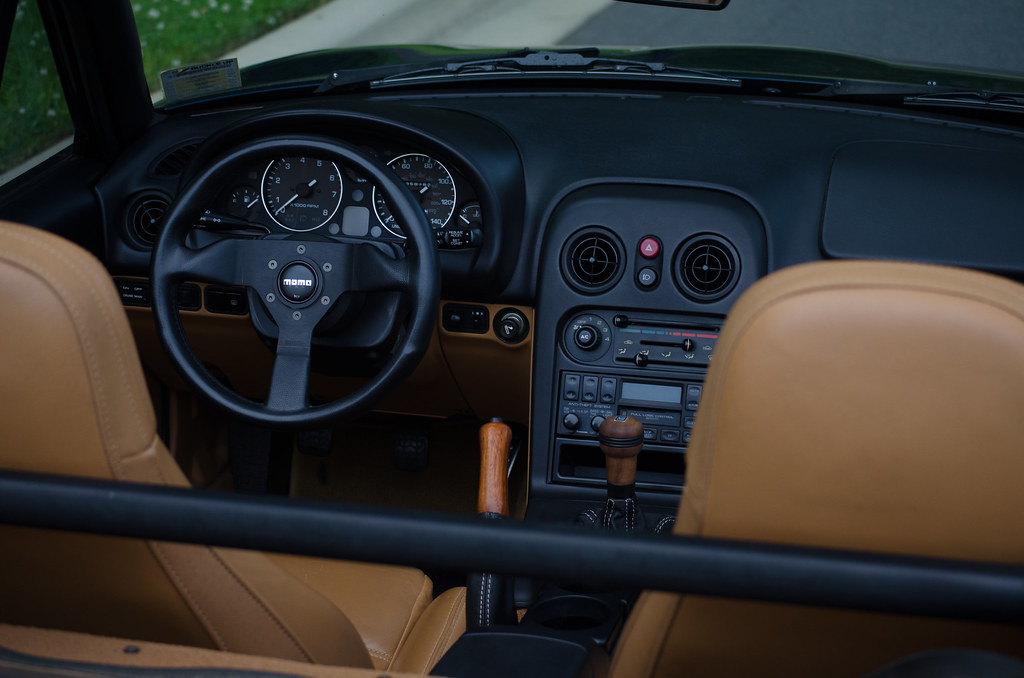
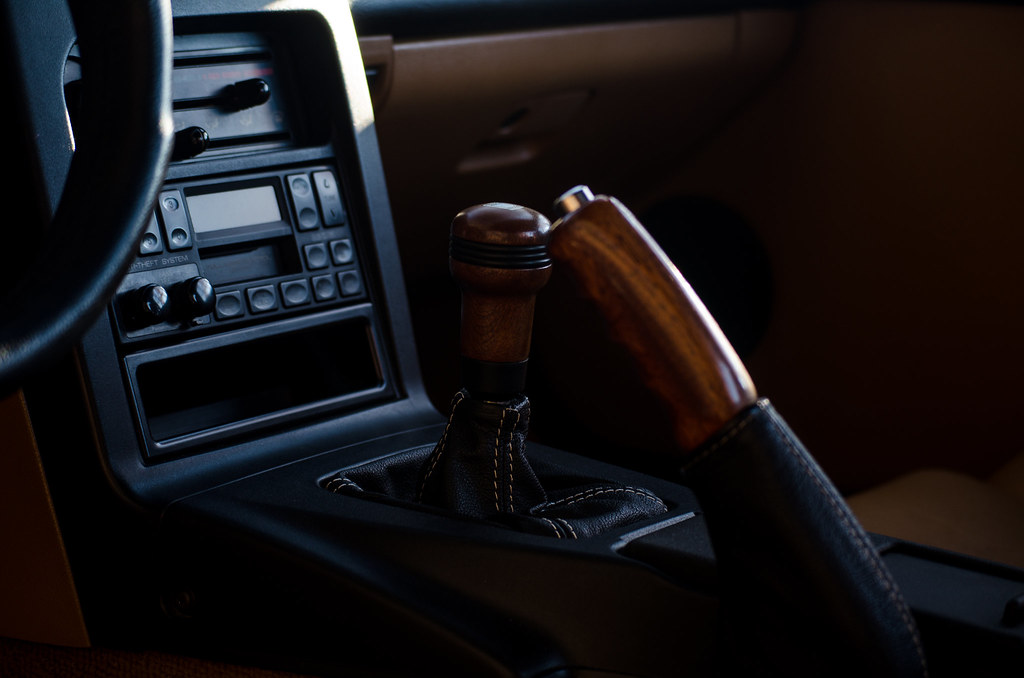
I have since replaced the shift boot and brake boot, installed a 320mm Momo Monte Carlo, and sanded the Nardi shift knob down to bare wood to get rid of all the grime that built up over the years. I ripped out the rubber from the knob and replaced with faucet rings.

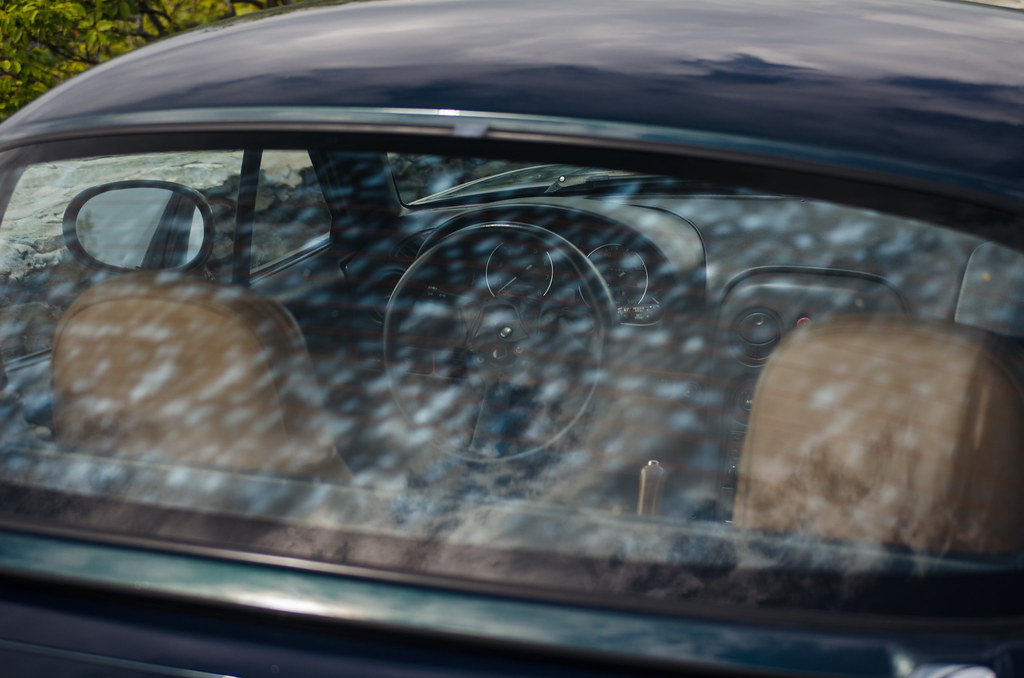
A few introduction photos:


Image


Image


Image


Image


Image


Image


Image


Image


Image


Image
 
#5 · (Edited)
re: Project Moby

Fast forward to 2015.

My first Miata was a black NA. When I sold it, the hard top was installed onto Moby. I happened to find a black Miata with a montego blue hardtop, and we ended up trading tops.

The following parts were reinstalled from my black NA as well:

- 14x7 +19 RPF1
- Dunlop Direzza Star Spec
- Tein Basis
- R-Package lip

Image


Image


Image


Image


Image


Image


Image
 
#9 ·
re: Project Moby

I do have a proper reason for not driving the car though, the radiator is not getting any newer, and I'm afraid it's on its' last leg. Haven't been able to put much money into Moby lately, purchased a house a few months ago and have been doing a full remodel. Moby kind of got...kicked to the curb. The house is almost done, so I will have more time to work on the car. Here's what I plan on taking care of in the near future:

- Radiator, hoses, thermostat
- Seats re-upholstered
 
#19 ·
re: Project Moby

wow gorgeous as always. Love the simplicity.
 
#23 ·
re: Project Moby

wow gorgeous as always. Love the simplicity.
I knew you'd chirp in. Thanks handballallday. :icon_cheers:

hahHAhAhHAAHAHhAhahAhahhHAhahaaaaaaaaaaaaaaaaaaaaaaaaaaa.

You own my dream miata. Looks great. I am way too jealous.
I woudn't say dream Miata, it's so far from perfect. Sharka, now that's a dream Miata :)

nice choice mods. reads like a roadster that you can just get in and enjoy
That's exactly what this is. I couldn't get enough of it on
these roads:
Image
 
#33 · (Edited)
re: Project Moby

Found an NA6 dash locally and figured it would be a decent project. Not in the best shape, but I'm not complaining. This is what it looked like when I picked it up:

Image


Bumpy.
Image


Frame isn't too rusted, but will get painted.
Image


I decided to repaint everything that's tan on this dash. Faded crash pad, glovebox, bottom half. Will also paint my door card pads to match. The other option was to paint the crash pad black, but I decided against it as it makes the interior look too dark. The bottom half of the dash is fading a bit, and I figure if I paint just the crash pad tan, then it wouldn't match the rest of the tan.

Will be cleaning up the plastic with brake fluid, prepping with SEM Plastic and Vinyl prep, and giving it a few coats of SEM Camel.
Image


The only worry I have is the small crash pad to the left of the gauge hood:
Image


A crack.
Image


This shouldn't be too much of a problem since I'll be painting the pad, but I'm hoping JB Weld can fill this in and keep the crack shut.
 
#34 · (Edited)
re: Project Moby

Making slow progress on the dash. Repaired a ton of the screw posts on the underside of the dash with JB Weld plastic weld, thin wire, and JB Weld plastic putty.

Image


Image


Image


Removed the black sticky paint from the top of the dash with a combination of razor blades, brake cleaner, and brake fluid.

Image


Image


This is good-enough. I plan on covering the top with leather, so I don't really care about the leftover paint in the plastic-leather pattern here.

I also cut the vents out in preparation for leather. Unfortunately, my dremel slipped a few times in the process and I am left with a few small gauges in the plastic around the vents. These will probably not even show up after the leather is glued down, but I decided to be safe rather than sorry. Filled them in with bondo and will sand them later. The two AC vent posts underneath the dash also caused a few dents, so those got filled in as well.


Image


Image


Since the tan plastic on this dash has faded, I'm repainting the entire thing in SEM Camel. Glovebox came first, this is after one coat.

Image
 
#38 ·
re: Project Moby

Adding some additional photos to show how bad some of the screw posts were on the underside of the dash:

Image


Image


First filled in with JB Weld's PlasticWeld.
Image


Then wrapped with wire. This might look a bot sloppy, but each time I went around the post, I twisted the two ends tight. This was mainly to provide rigidity for the PlasticWeld Putty that I finished off with.
Image
 
#39 ·
re: Project Moby

Painted the bottom of the dash and finished the glovebox today.

Dash wiped down with SEM Plastic Prep (38353):
Image


Image


Here you can see the the discoloration of the tan plastic around the glovebox. Looks like some kind of chemical was used previously:
Image


Bad photo, but the area near the hood latch release was not pretty either:
Image


I used SEM Camel Color Coat (15173). I did not use an adhesion prompter, although that is recommended apparently.
4 coats later:
Image


Image


Area near the glovebox:
Image

Yes, yes, I didn't remove the rubber bumps. They didn't come out easily, so I left them in. Not a big deal.

Hood latch release:
Image


And the final look of the glovebox (lighting in this photo makes it look like the latch and glovebox are different colors, but they are not):
Image


Overall, I am very impressed with SEM products so far - the finish looks fantastic. The crash pad will be repaired and painted later this week.